The below configurations are for SharePoint sites in the Classic UI. To add web parts for the Modern UI, please refer to this link: Modern UI Web Parts
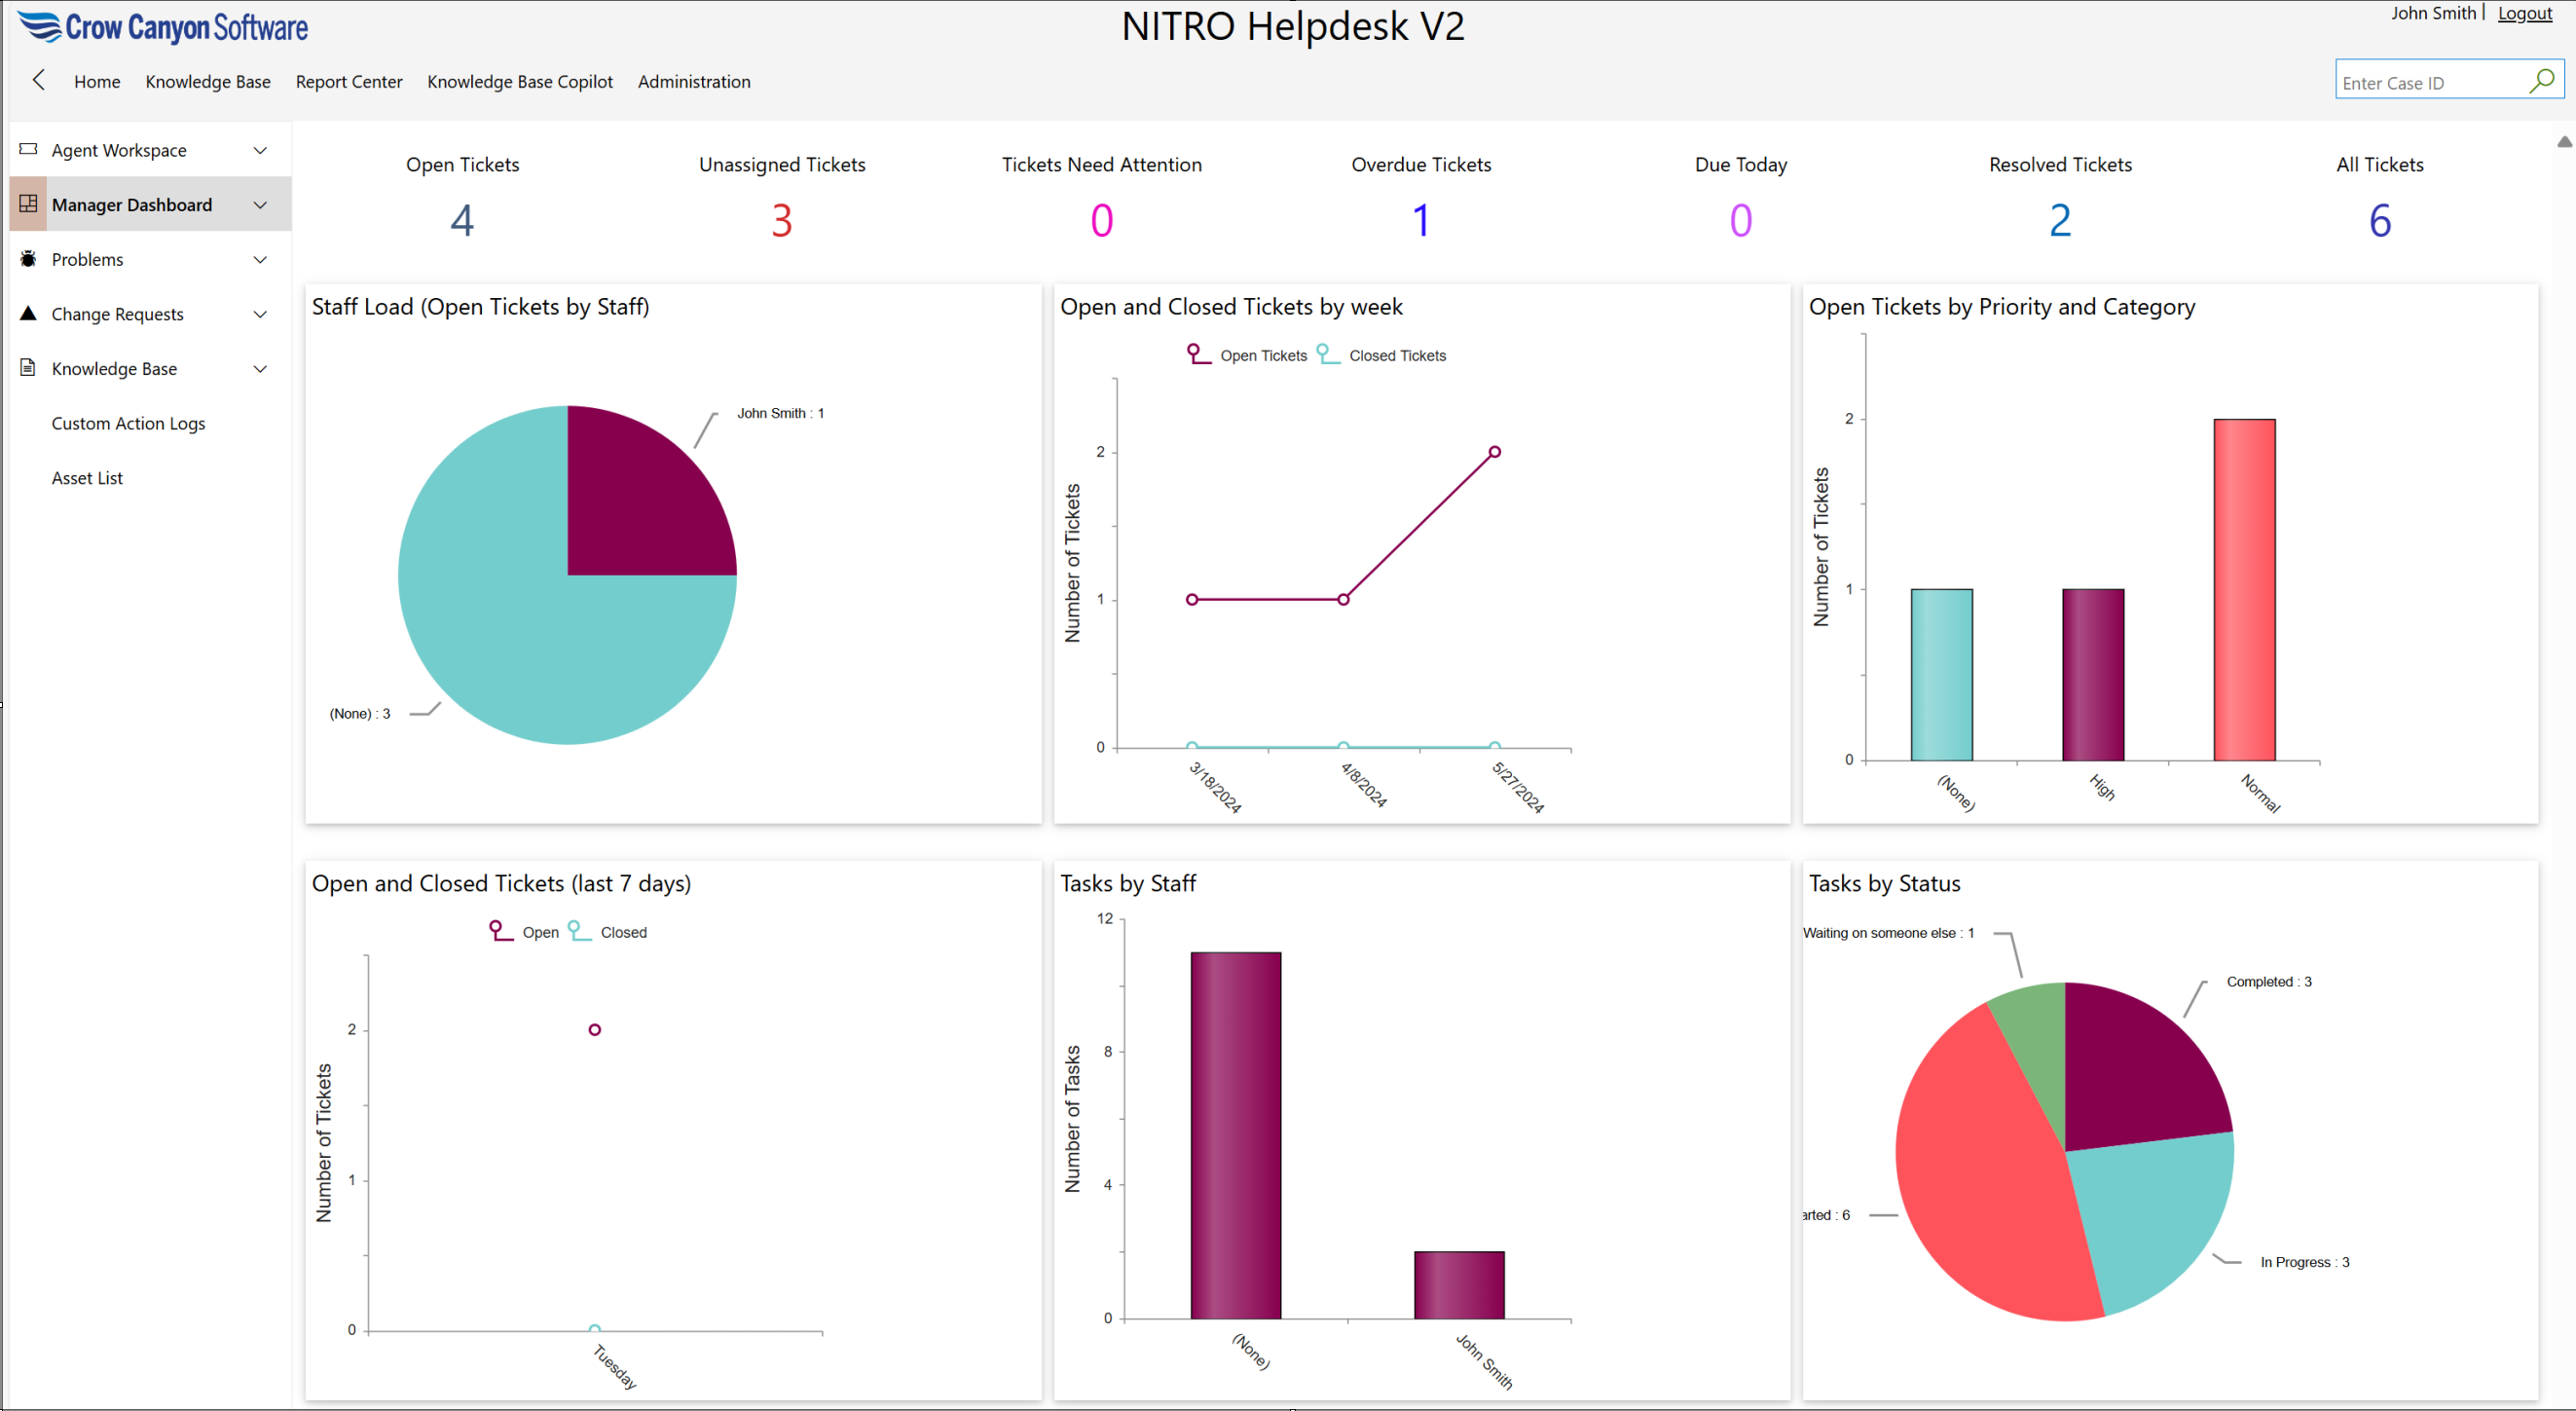
The Report Manager allows reports and the Report Center to be added to pages in the SharePoint site. This can be done by editing a Page directly or by using this utility. Adding reports to a Page allows the creation of dashboard and workspace pages that display report information, such as below (which has four reports added to it).

Adding a Report or the Report Center to a Classic Page
In Report Manager, go to the "Add Report to Pages in Site" tab. Note that this is used to add a Report or the Report Center to a Classic page. For a Modern UI page, you can directly edit the page and add the Crow Canyon web part there.
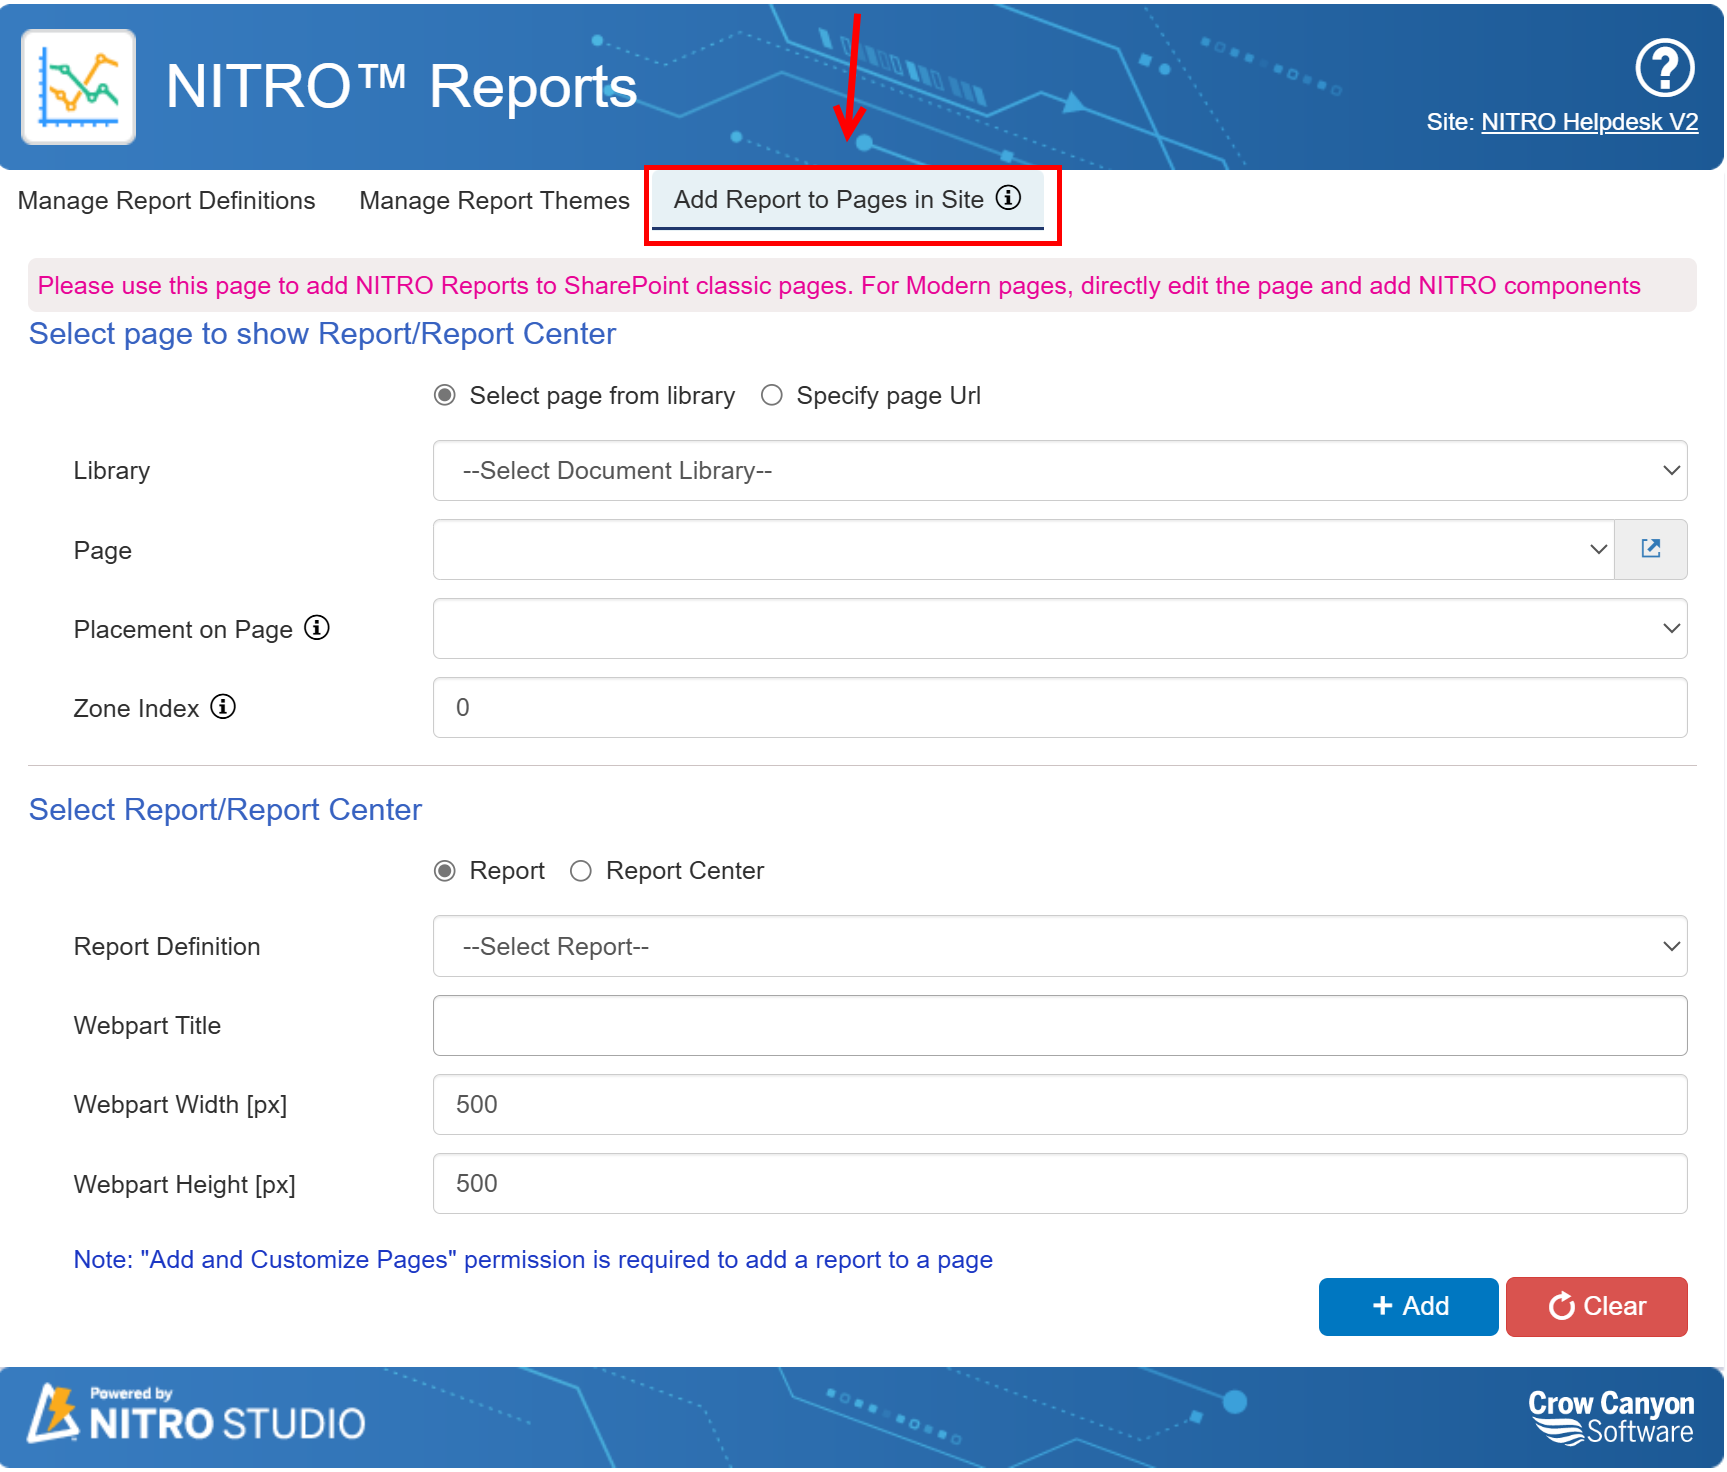
Radio buttons give a choice as to how the page is indicated: selected from a Document Library or designated by a specific URL.
Document Library
Choose the Document Library folder, then the Page

Specific URL
Enter in the URL

Placement on Page: what section of the page to put the Report. This depends on the page's layout. It could be Header, Left Column, Middle Column, Right Column, Footer, etc.
Zone Index: where in the selected section to place the Report. This depends on how many other web parts are in that section. "0" indicates top position in that section, with higher numbers meaning lower in the section.
Select Report/Report Center
Adding a REPORT

Choose the Report from the drop list of all the reports (Report Definition).
The Webpart Title can be the name of the report or whatever other text is appropriate (it is what shows as the report title on the page).
The Webpart Width and Webpart Height can be adjusted as required to show well on the page.
Adding Report Center
If adding the Report Center to a page, there is no need to select it from a list. Put in a Webpart Title, and adjust Width and Height if needed (the defaults usually are fine). Note that this page would have a URL and therefore a Quick Launch or Top Nav link can be added to give direct access to it.

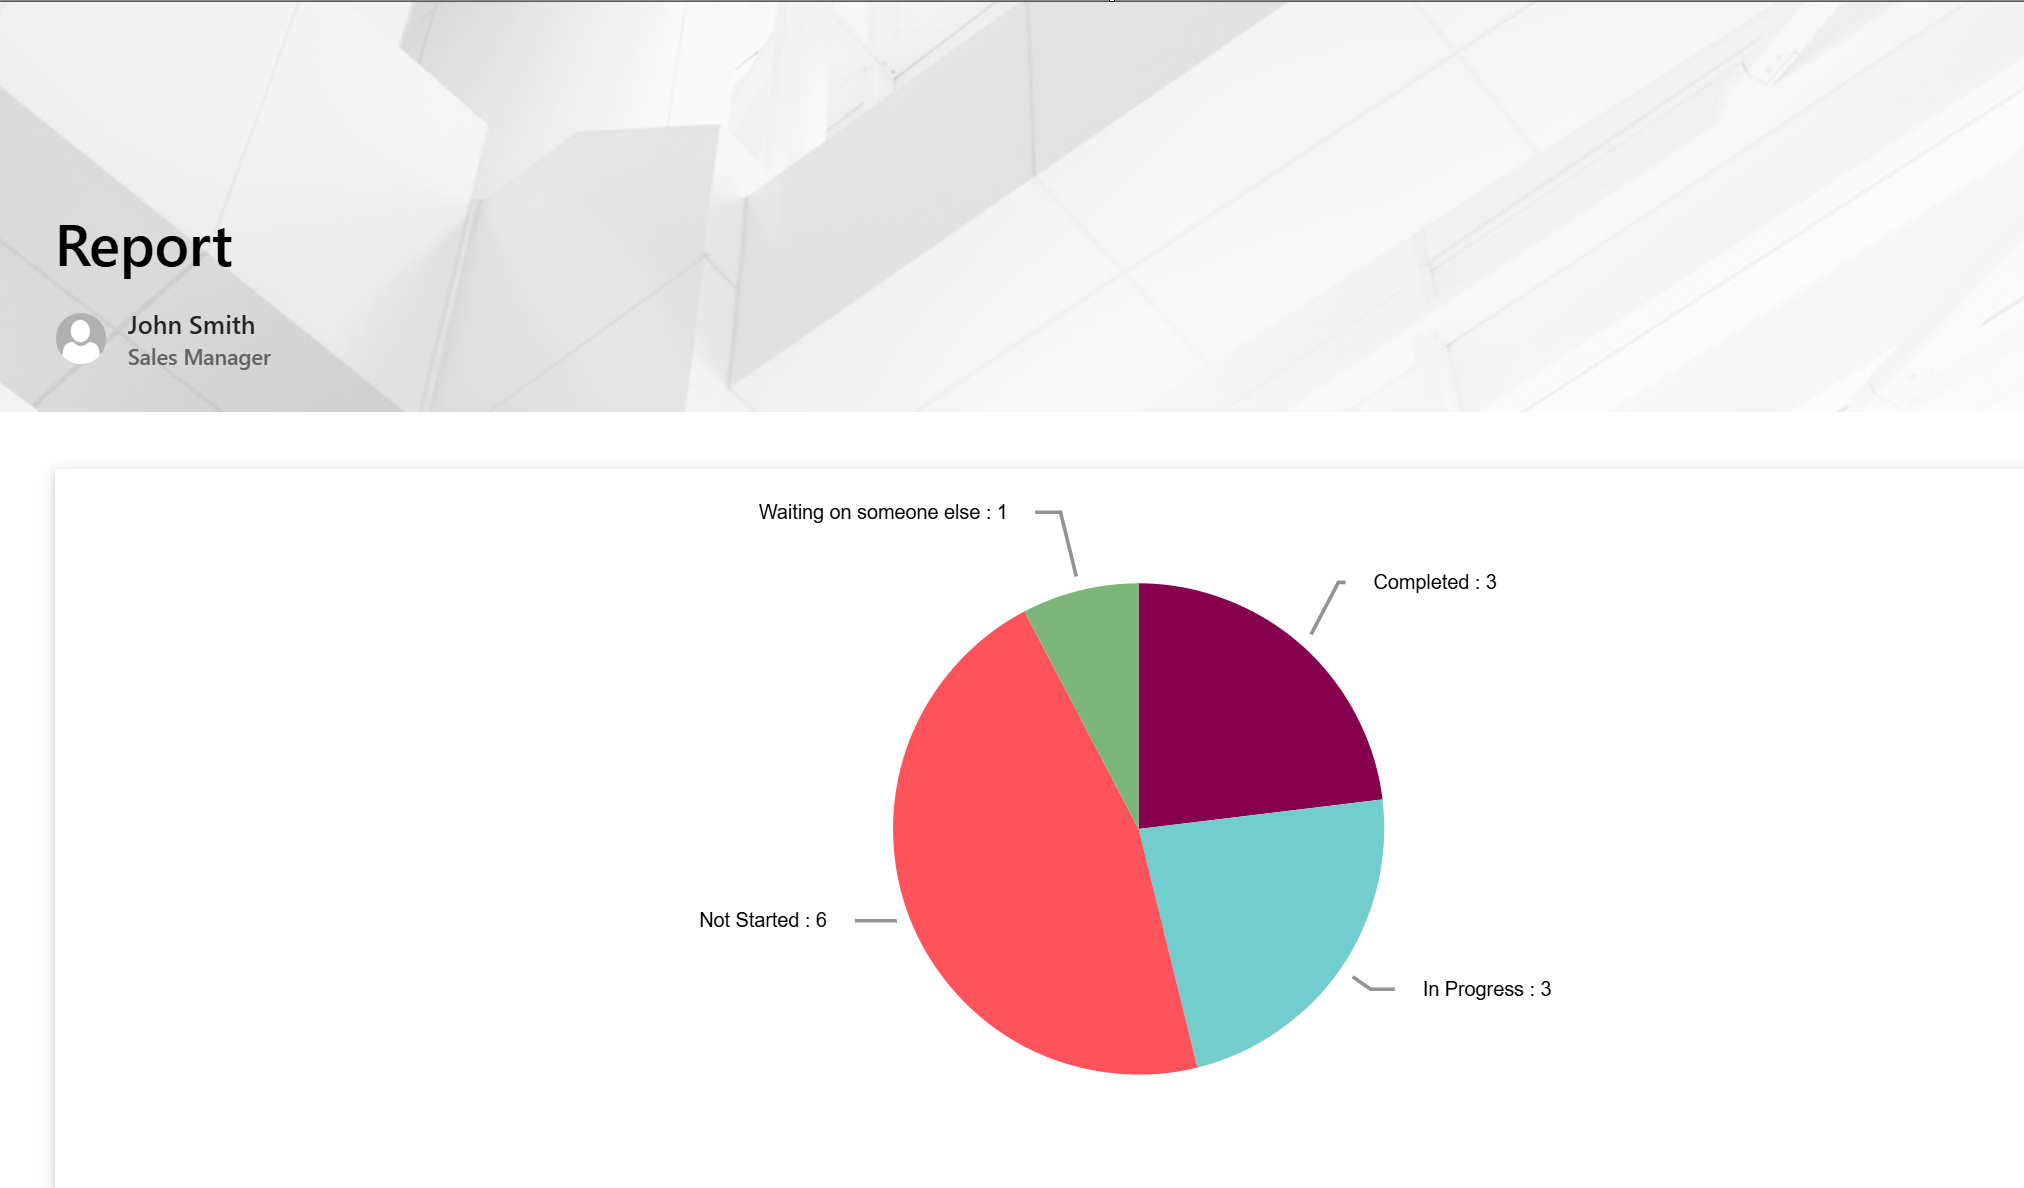
In Modern UI the page will look like below page:
To add Report or Report Center to Modern page
To add Report on a page wither you can edit the existing page or add a new page
To edit a page, add '?Isccsmode=1' in URL -> click 'Edit'

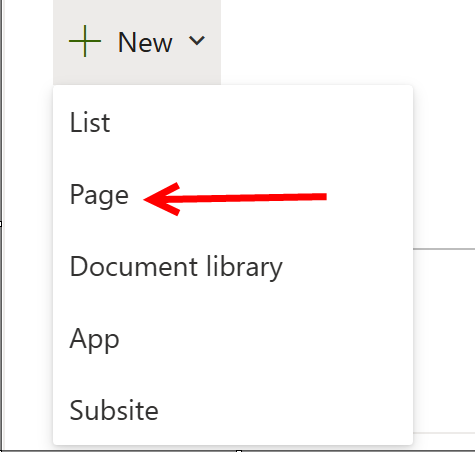
To add New Page : Go to Site contents -> Select 'Page' from 'New' button dropdown
To add Report webpart on modern page, click '+' button on new page or existing page

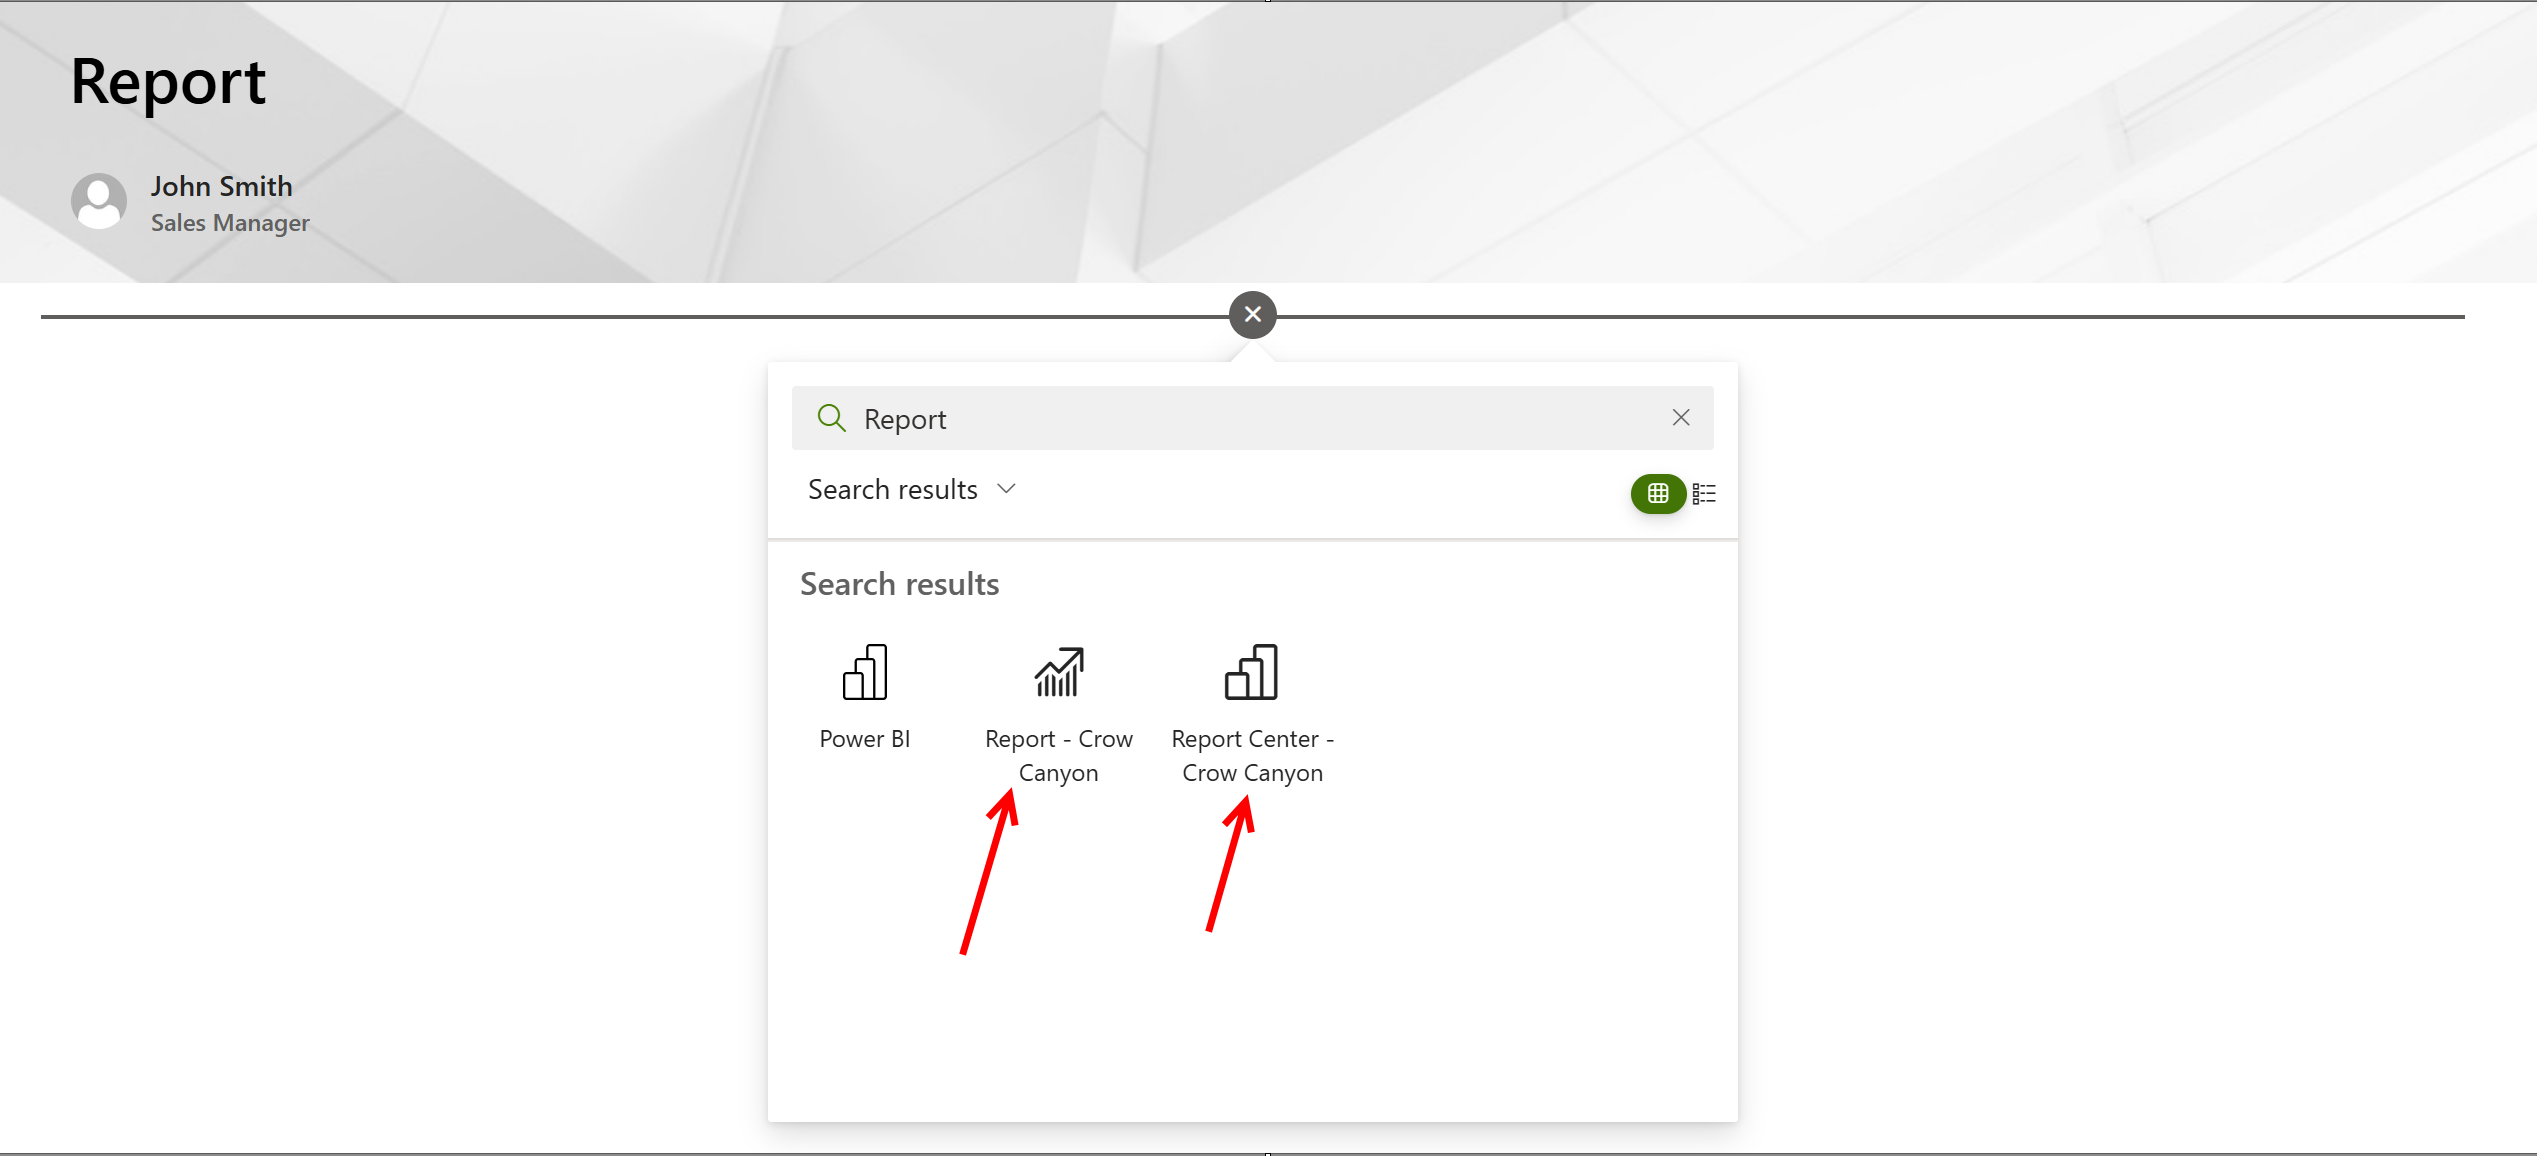
In dropdown, search 'Report'. To add 'Report' webpart select 'Report-Crow Canyon'. Similarly, To add Report Center, select 'Report Canter-Crow Canyon'.
After adding the Report webpart, click pencil icon to edit the web part settings as shown below:
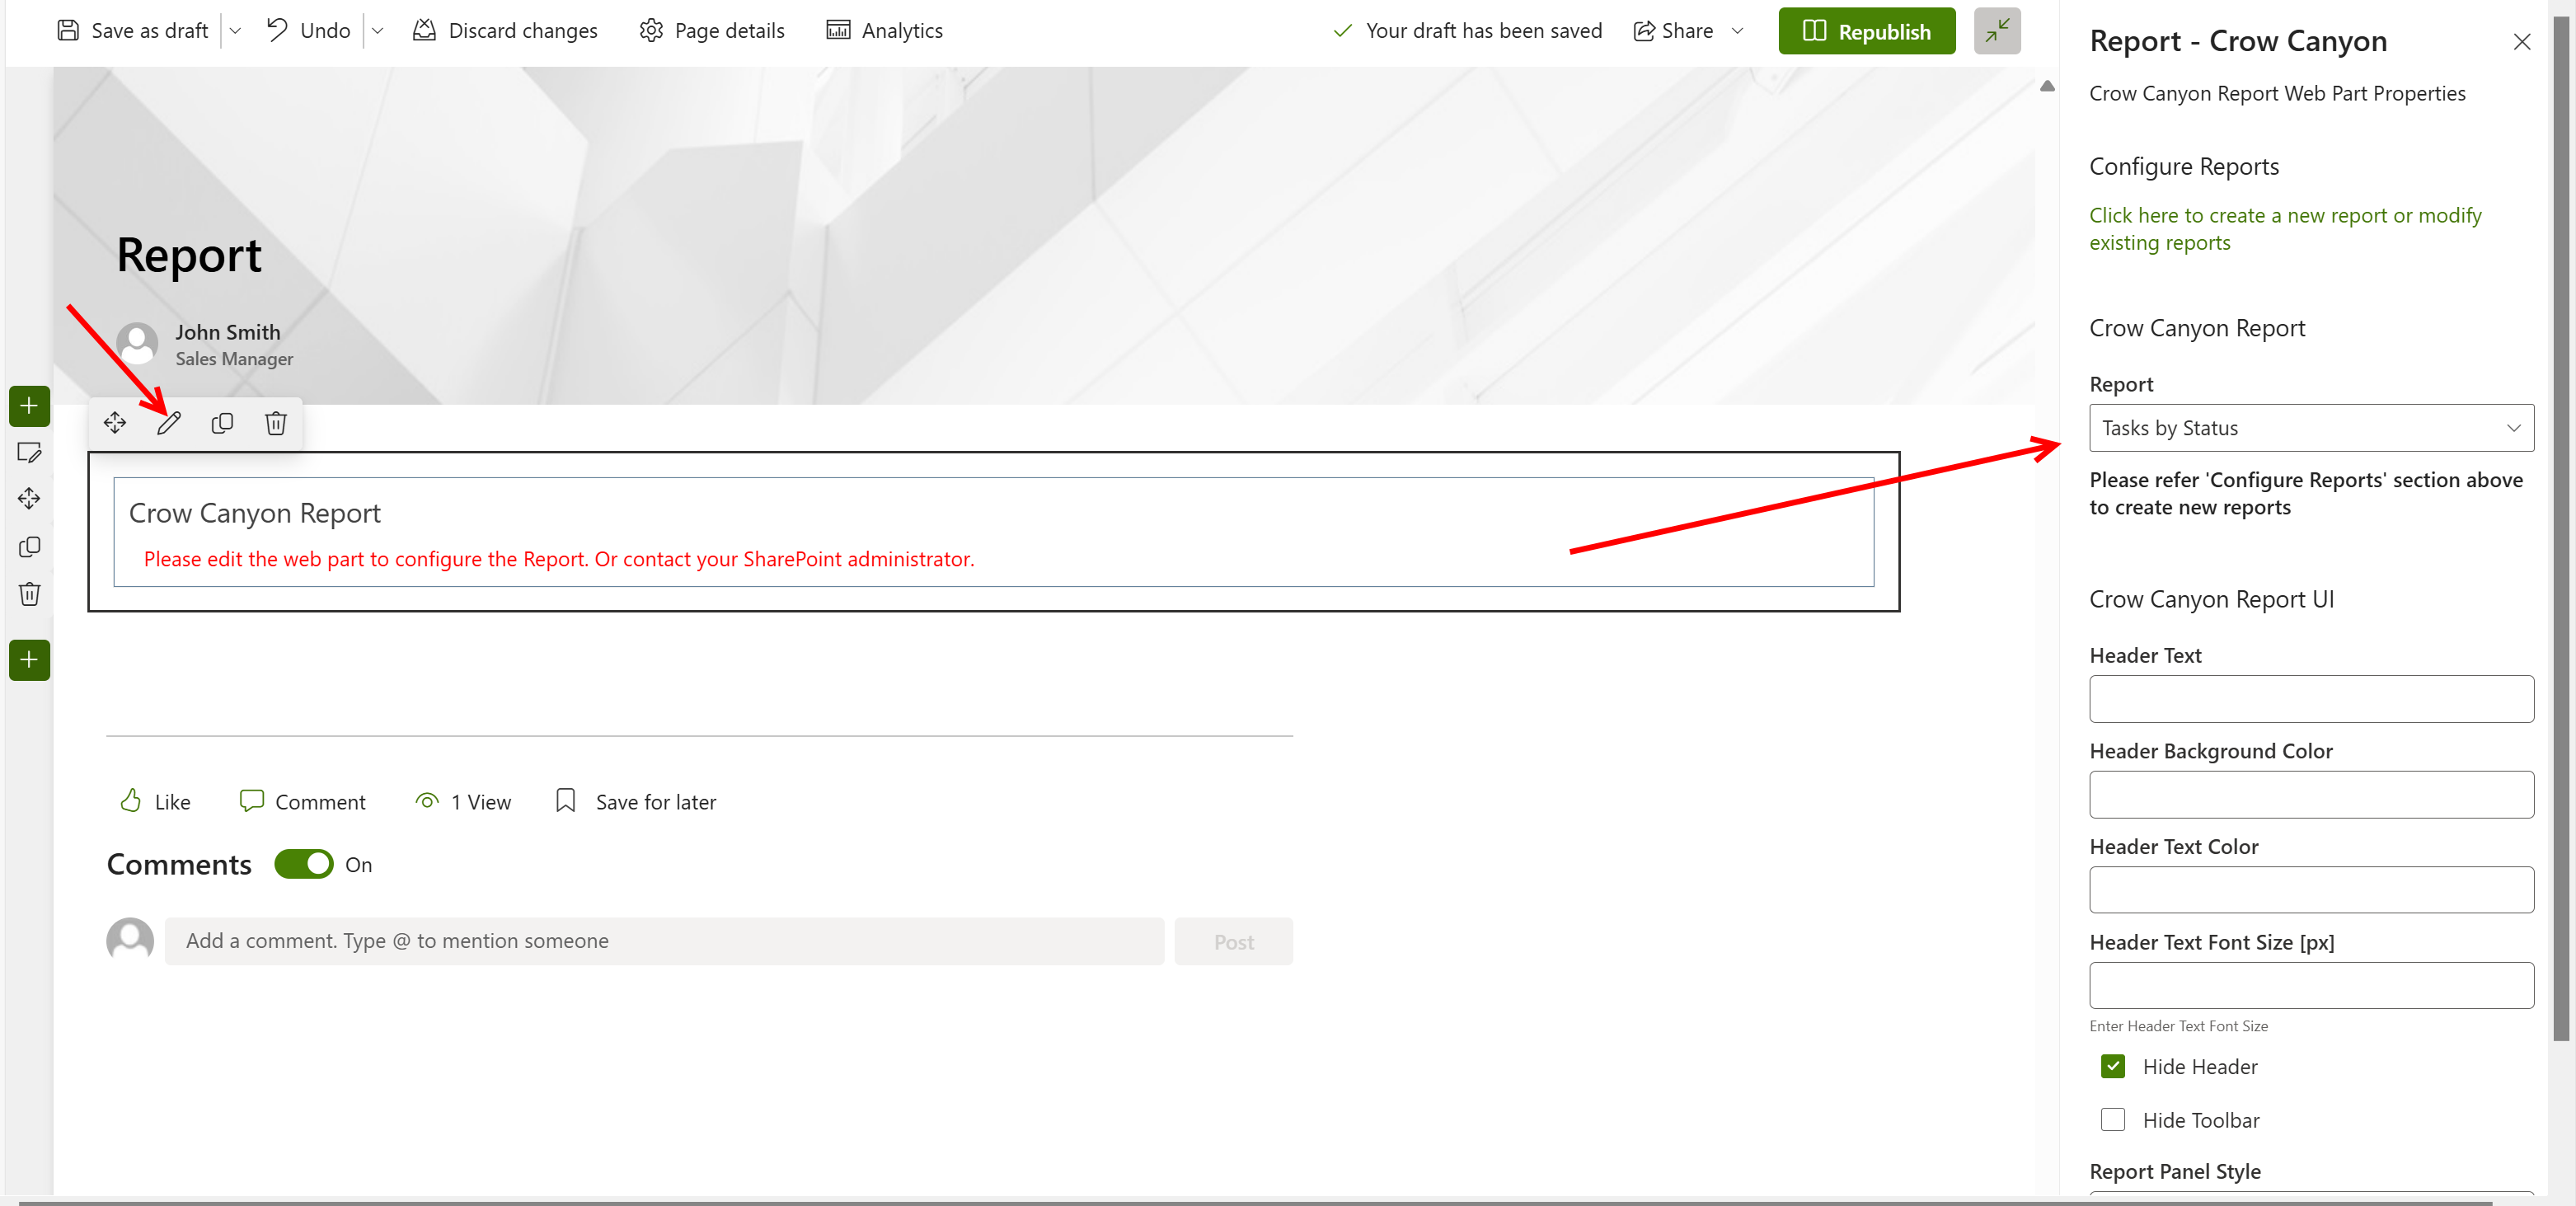
In right side panel,
- select report from drop down that you want to show on page.
- Provide, Header text, header background color and header text font size as per requirement.
- Select 'Hide Header' option to hide web part header. If you don't want to hide header the don't select this option.
- To hide Toolbar, select 'Hide Toolbar' option.
- Some default setting will come automatically for 'Report Panel style' and ' Header Panel Style'. you can provide your own settings for these options as per requirement.
After configuring web part settings, publish/Republish the page.
Sample output:
