Adding the Report Center to a Modern Page
To integrate the Report Center into a page in NITRO Studio, follow these steps:
1.Navigate to the page where you want to add the Report Center.
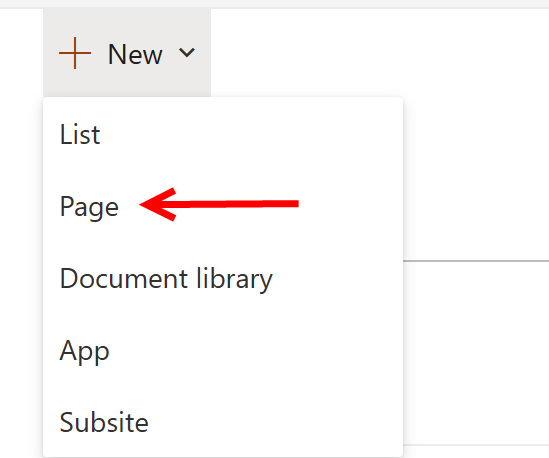
To add New Page : Go to Site contents -> Select 'Page' from 'New' button dropdown
To add Report Center on an existing page: add '?ccsmode=1' in URL -> click 'Edit'

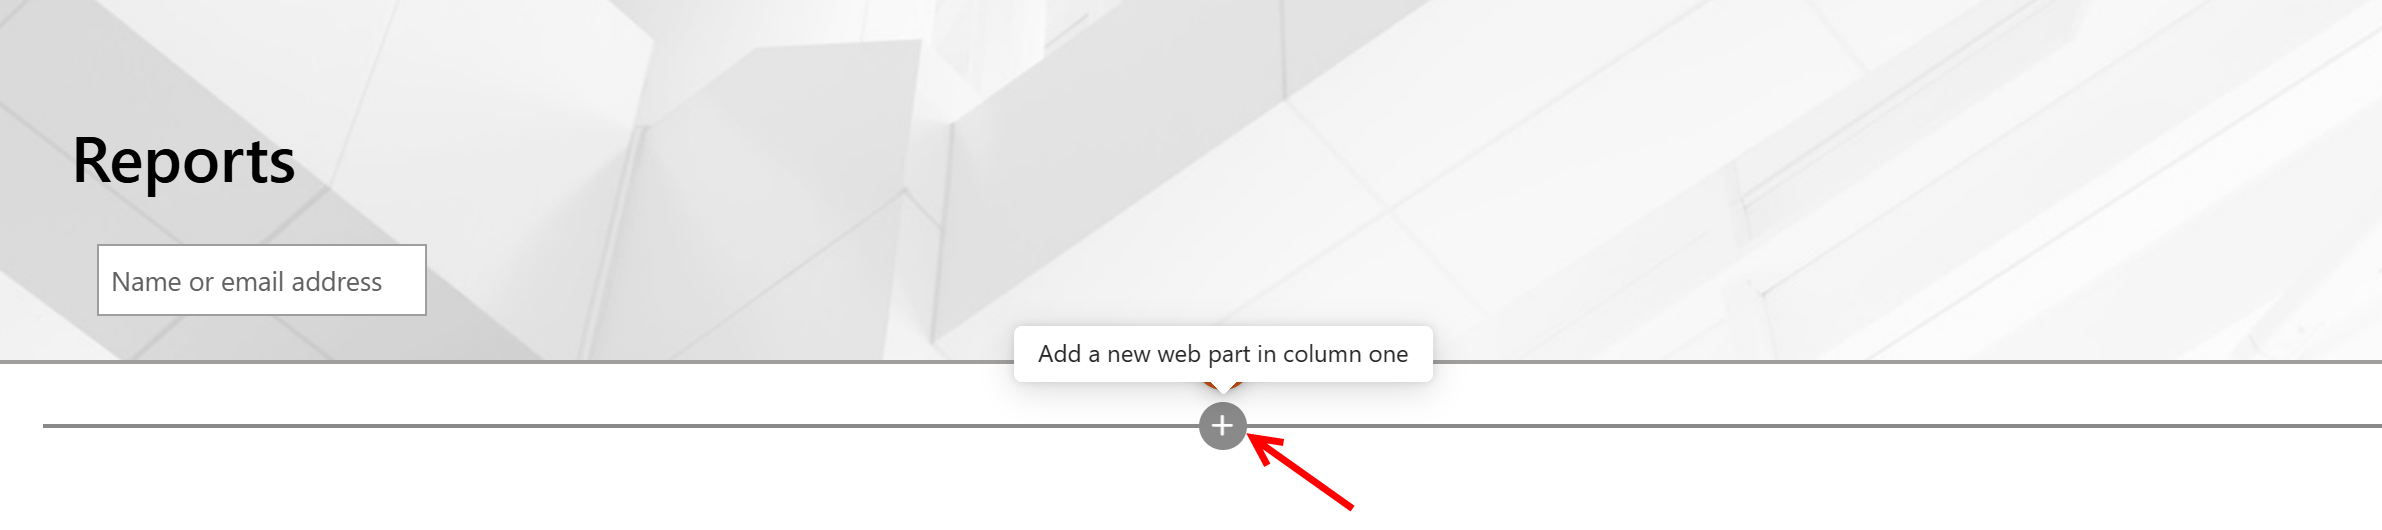
To add Report Center webpart on modern page, click '+' button on new page or existing page
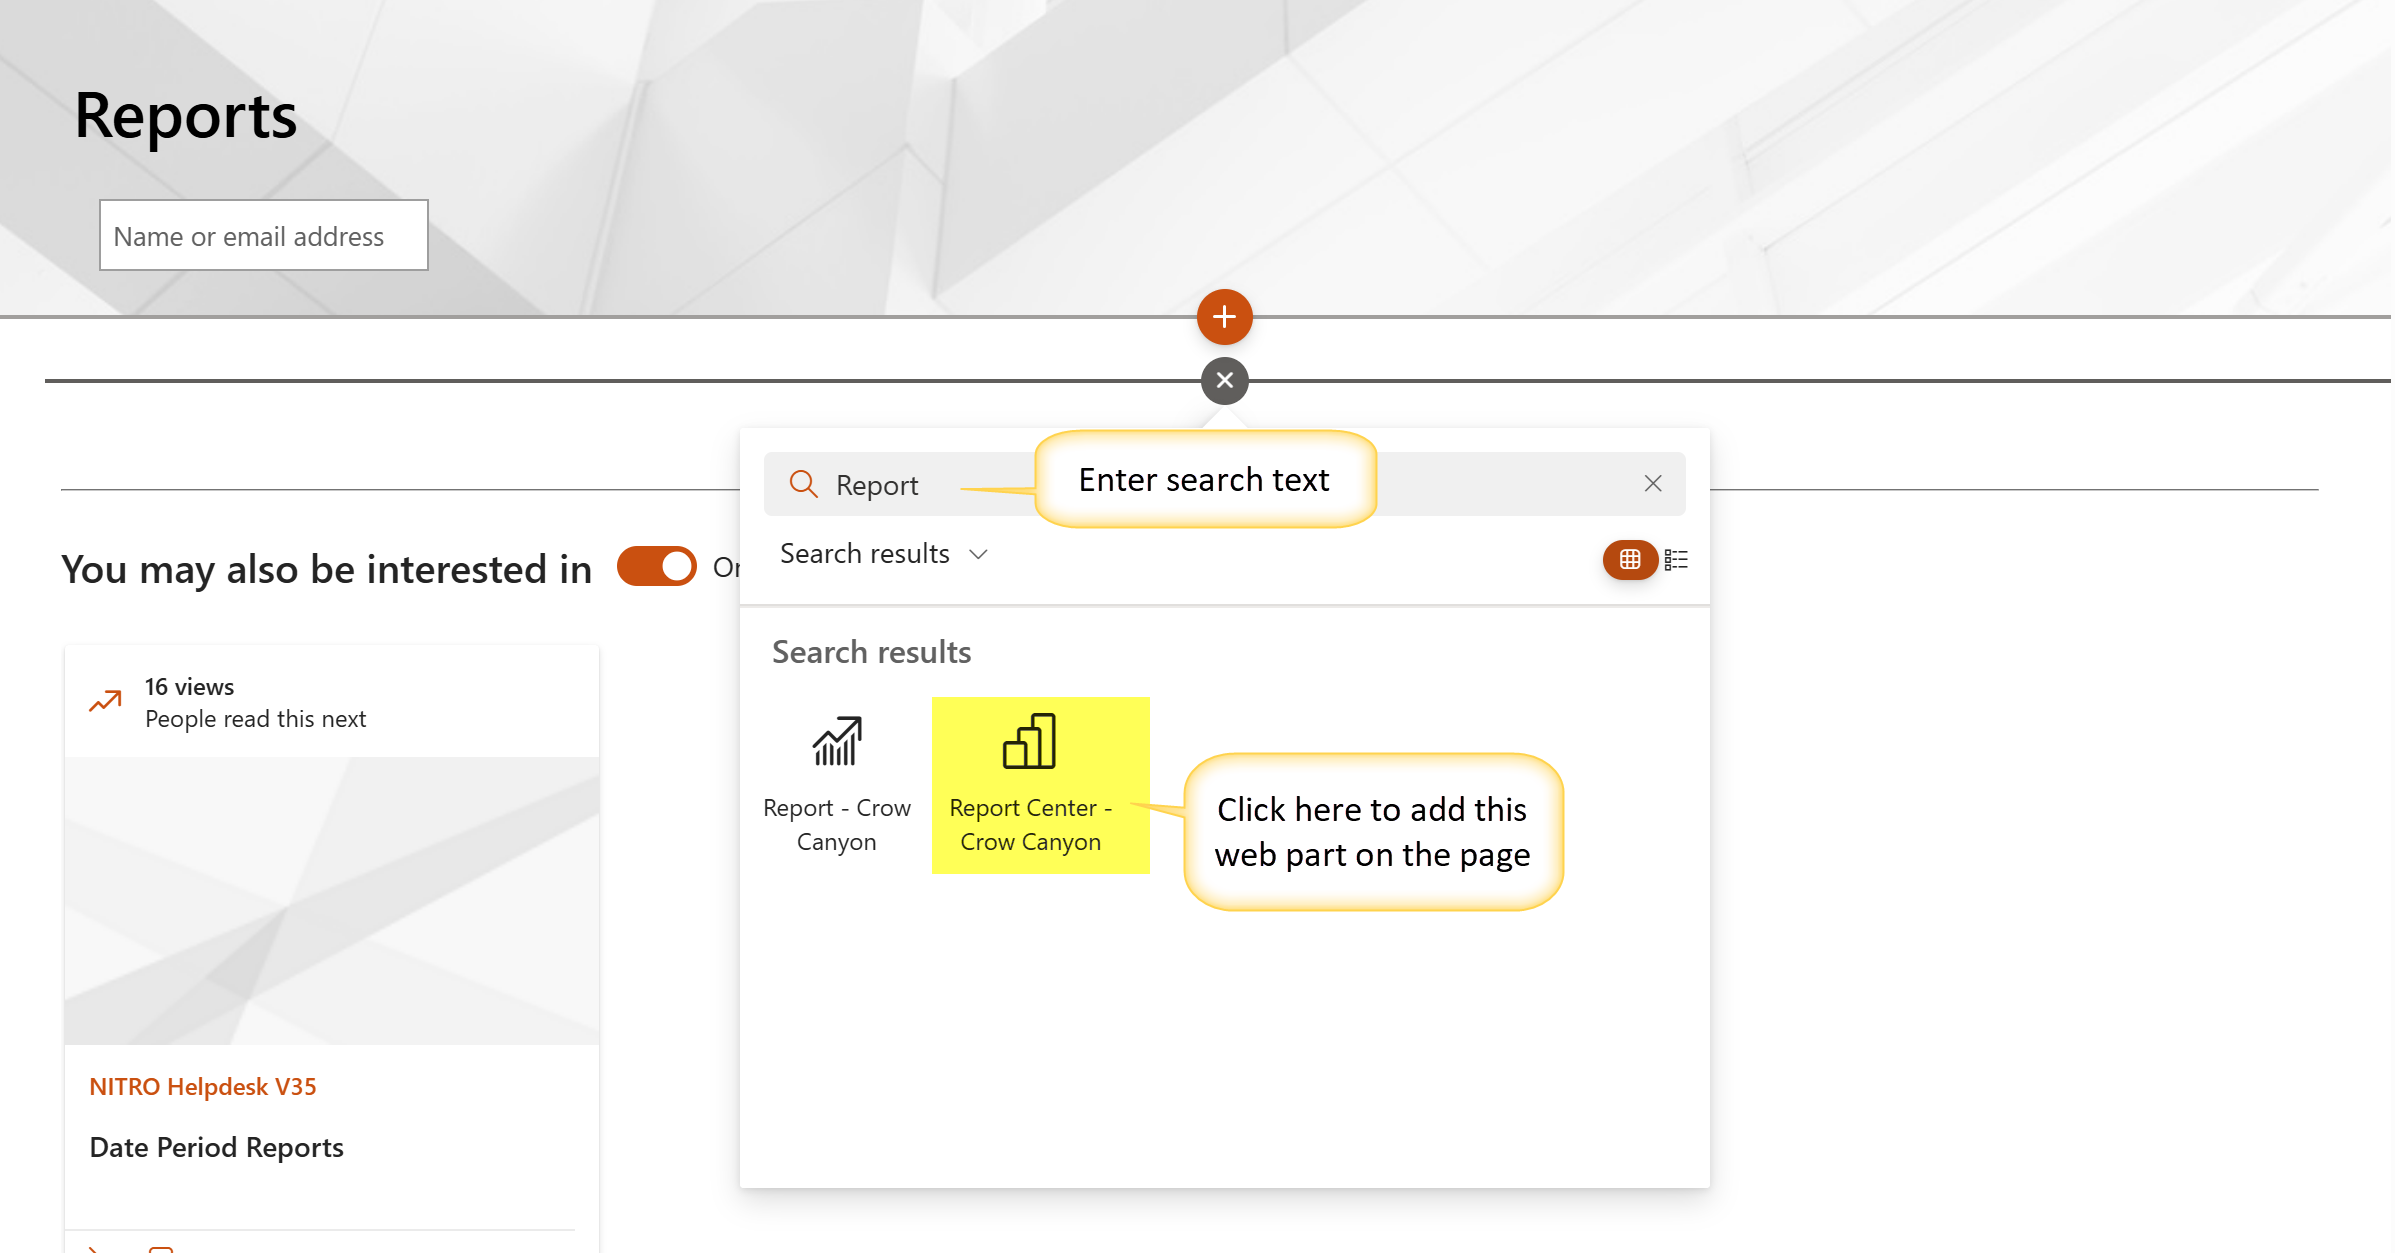
2.Add a Web Part and select "NITRO Report Center" from the available components.
3.After adding the Report webpart, click ‘edit properties’ icon to edit the web part settings as shown below:
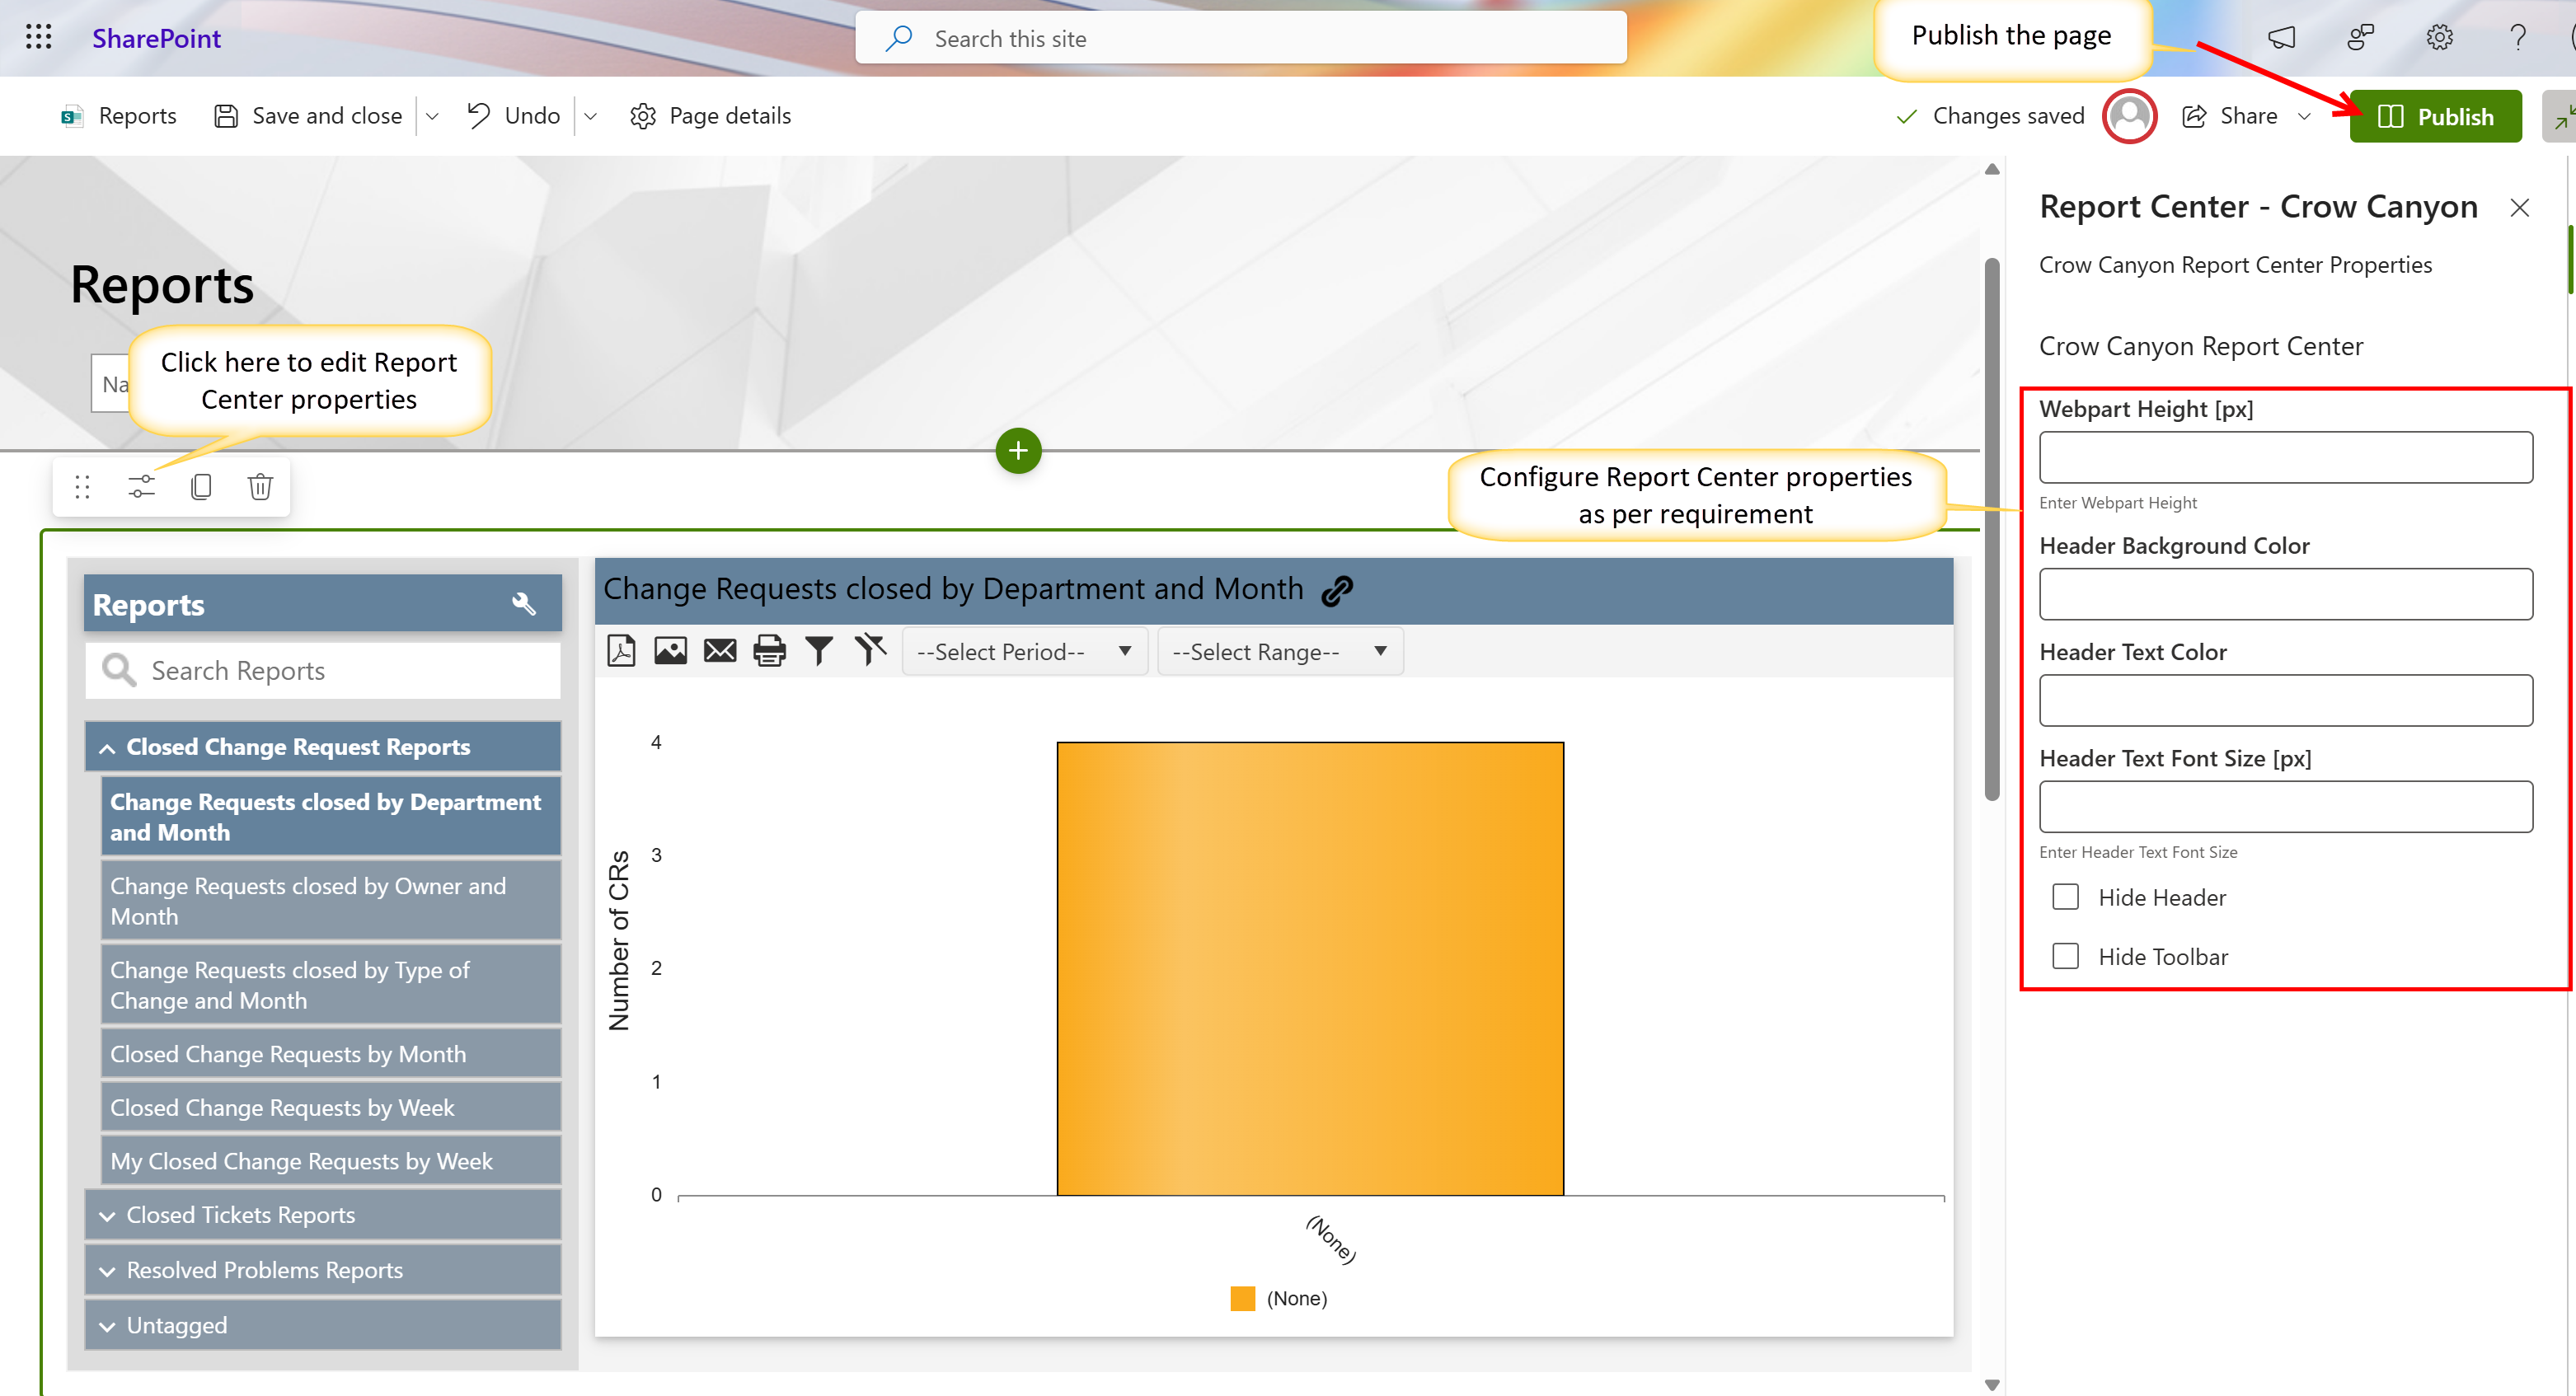
4.Publish the page to make the Report Center accessible to users.
Adding the Report Center to a Classic Page
In NITRO Reports, go to the "Add Report to Pages " tab. Note that this is used to add a Report or the Report Center to a Classic page.
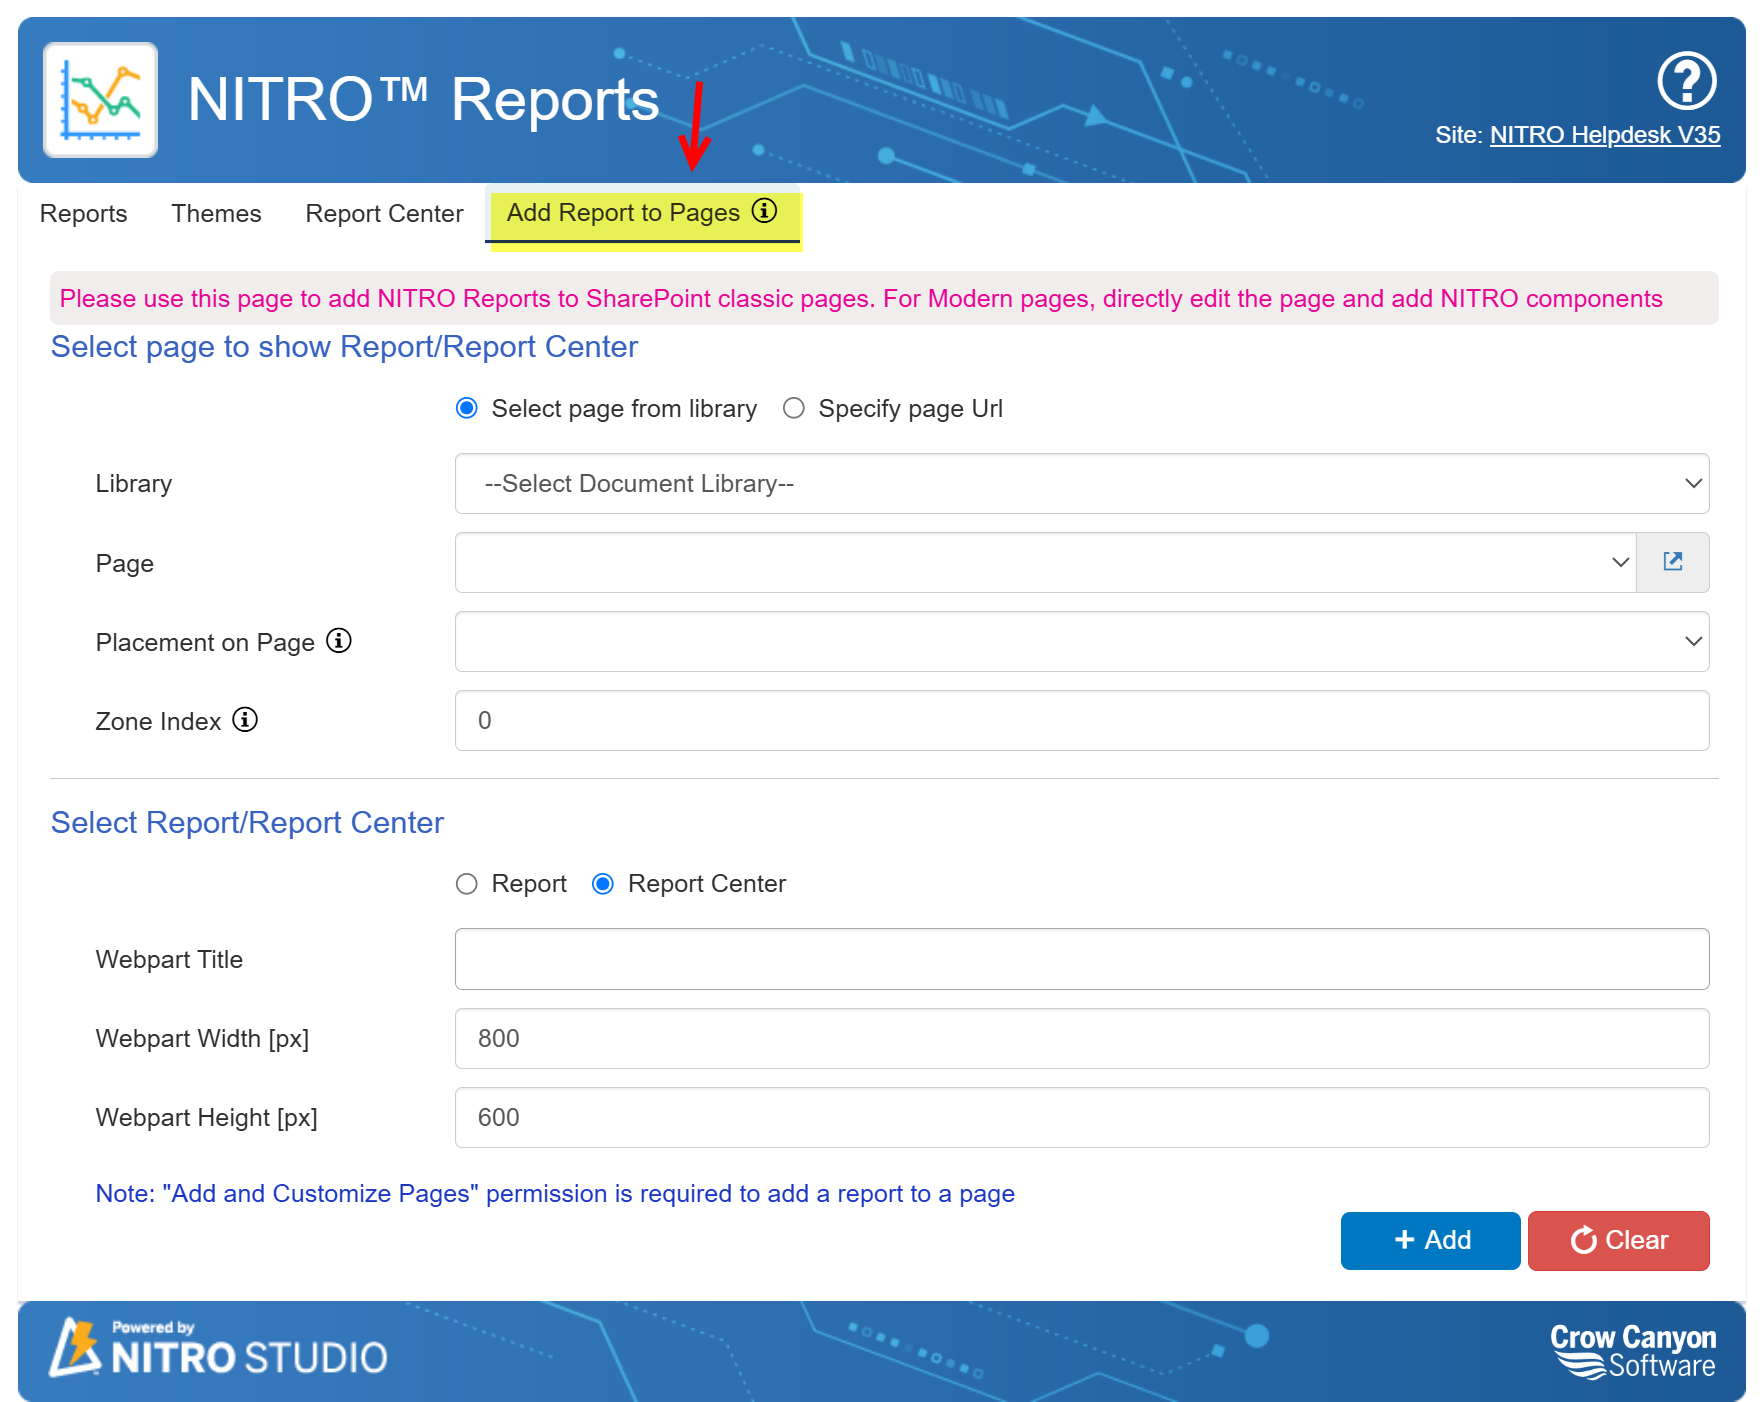
Report Center Placement Options
Users can choose to add a report by selecting a page from a library or providing a page URL.
•Library: Select a document library from the dropdown.
•Page: Choose a specific page from the selected library.
•Placement on Page: Determine where the report will appear on the page. Placement depends on the page layout and can include sections like Header, Left Column, Middle Column, Right Column, or Footer.
•Zone Index: Specifies the position of the report within the selected section. A lower number (e.g., "0") places the report at the top, while higher numbers position it lower within that section.
Adding the Report Center
When adding the Report Center to a page, simply enter a Web Part Title and, if needed, adjust the Width and Height (though default settings are usually sufficient).