The Send Mail action allows you to automatically send emails to one or more users or groups using a mail template. In the scenario below, we will send an email to a staff member when a ticket gets assigned to them. We will also create a new email template for this purpose. Be sure to read the last paragraph, which reminds that Save or OK must be clicked in each place where it appears in order to fully save your actions.
In designer custom action
Select 'Send Mail' action from Actions dropdown in left side panel.


Recipients
To select recipients, click the buttons after the text boxes. Select the recipients from the Select Users box that comes up.
"To", "Cc", and "Bcc" - can hold multiple names.
"From" - can hold only one user or email address

Note: [Me] placeholder is also supported in Recipients fields as shown below:

Click 'User' icon to specify [Me] placeholder in recipients

Disable Email Editing: enable this option to not allow user to edit email before sending. If this option is not selected, it will allow user to edit email before sending it.

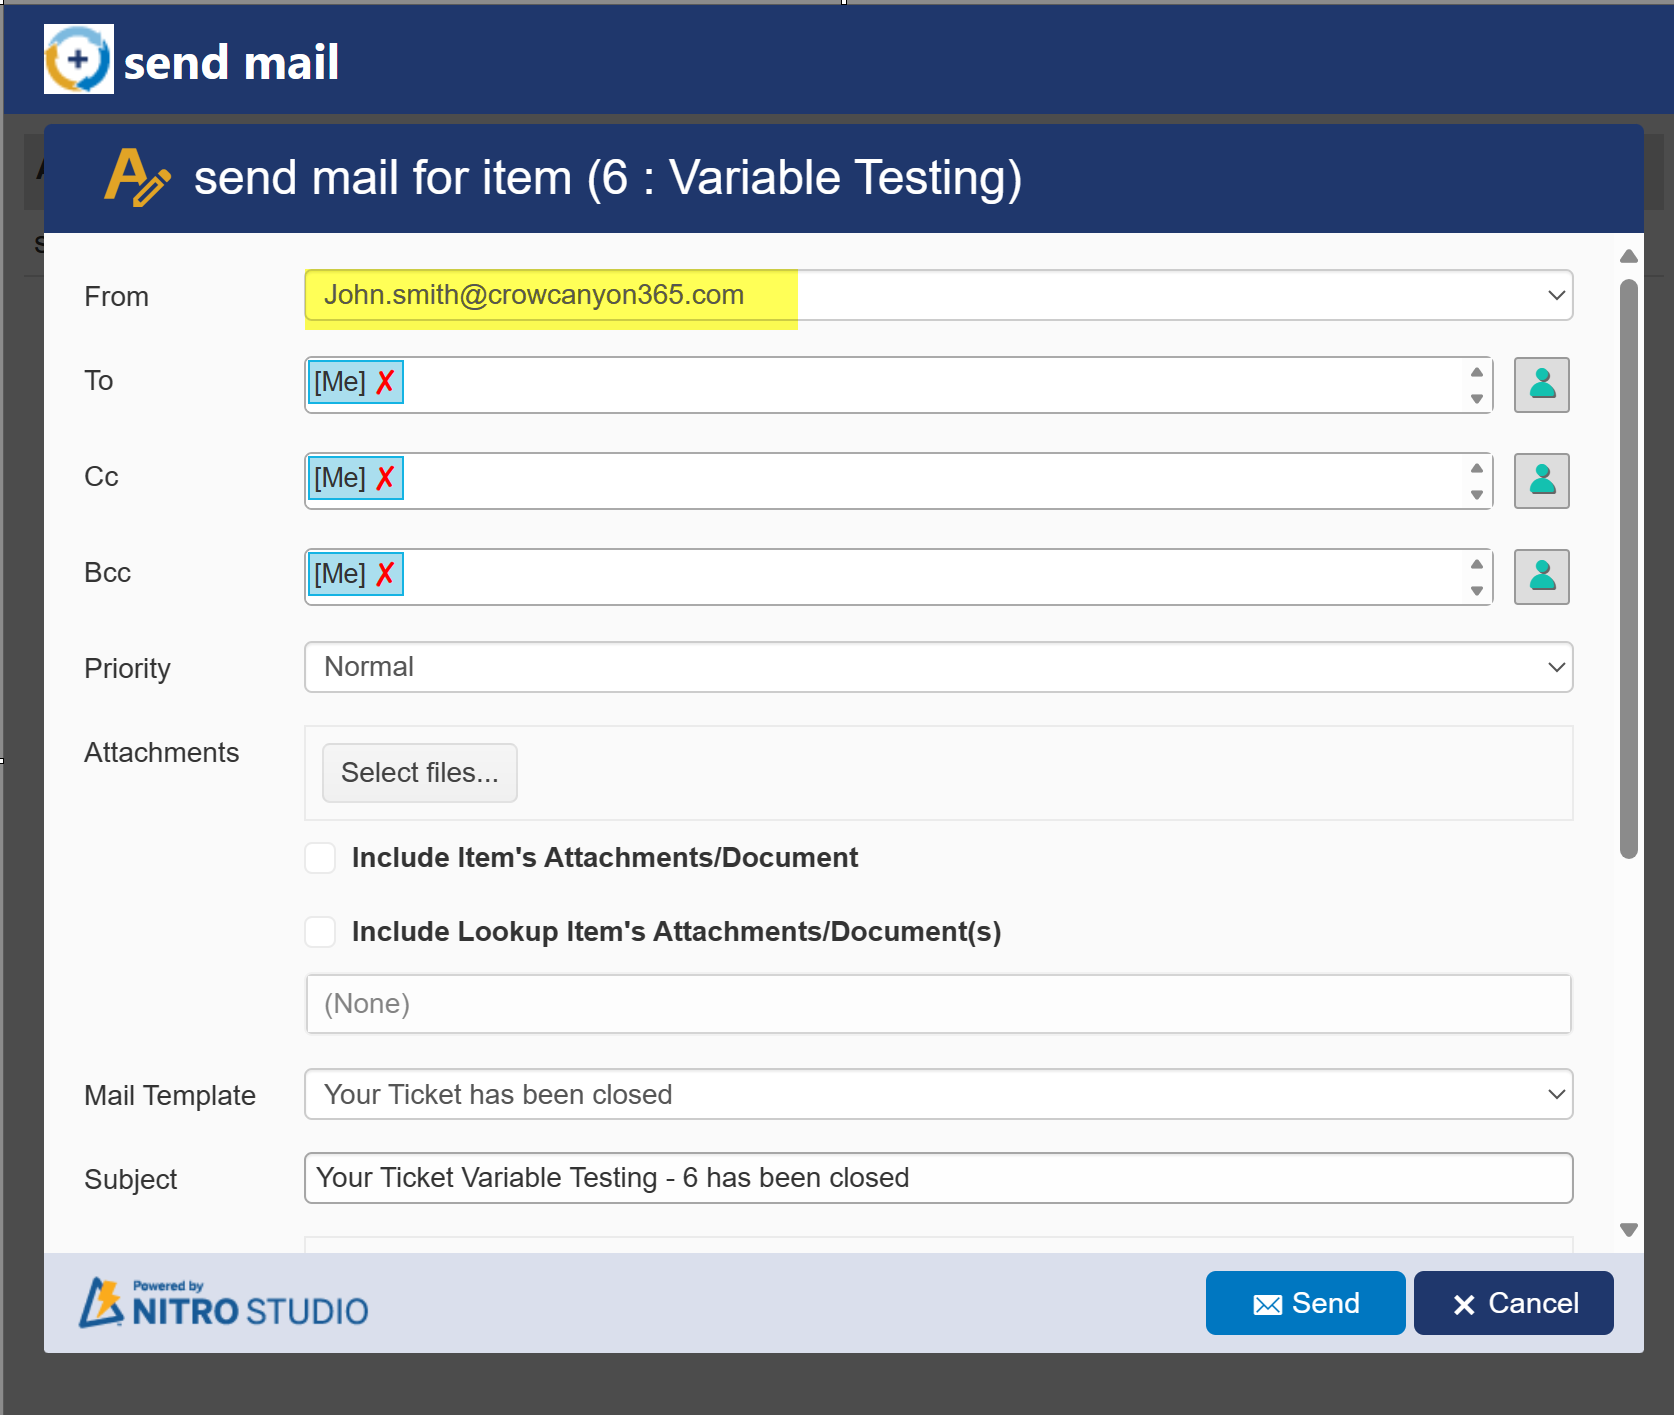
when the action executed, it will show mail preview to user as shown below:

here, user can edit the mail if they want.
Include Item's attachments/documents: Enabling this setting will allow you to insert columns, attachments and documents and will enable the “All attachments” default setting
• All Attachments (Default): It will include all attachments in the mail.
• Attachment columns: Select one or more text type columns, or select NITRO Attachments.
• File name regular expression: Filter attachments/documents using regular expressions.
| Example: To match all pdf files with word Agreement in their name specify: .*Agreement.*.pdf |
• Matching file extensions: Filter attachments/documents by matching file extensions.
| Example: pdf;docx |
Include generated document(s): select this option to include generated documents in email. Select the generated document(s) from the dropdown available to the right side of the checkbox.
Insert File Attachments: Select this option to Insert SharePoint file(s) from library by clicking '+' button
•Site URL: Select site URL from dropdown
•Library: dropdown will show all library of selected site in above step. Select library from which you want to attach file.
•File: Select file name (from the selected library in above step) that you want to attach in the email.

Insert Lookup Column Attachments: To insert attachments from lookup column, click 'Add' button. A window will pop up
Select lookup column from dropdown. 'All attachments' is by default selected. this will include all attachments of selected lookup column in email.

If you don't want to include all attachments of lookup column then deselect 'All attachments'. following columns will be visible after deselecting 'All attachments'
•Attachment columns: Select one or more text type columns, or select NITRO Attachments.
• File name regular expression: Filter attachments/documents using regular expressions.
| Example: To match all pdf files with word Agreement in their name specify: .*Agreement.*.pdf |
• Matching file extensions: Filter attachments/documents by matching file extensions.
| Example: pdf;docx |

Default Mail Template
When you edit the template you can add both text and dynamic values such as Placeholders, Links, and Column values from the current list to the Subject or Body of the mail template.
To so, simply enter the desired text, click on the links or columns in the scrolling list on the right, and click on the 'Add to Subject' link or 'Add to Body' link in the lower right corner.

Creating and Managing Mail Templates
For more information on creating and managing mail templates, see this section of the manual: MAIL TEMPLATES.
Saving your Work
It is important to note that you must hit 'Ok' and Save at all levels of the Custom action in order for your individual actions to be saved. Changes to the custom action are committed only on the ‘Save’ button click on the main custom action new/edit page (AddEditSettings.aspx). When user opens any pop-up and changes anything (like edit action, add action etc.), those are not immediately saved to the settings.